Rheonics sensor measurement
1.1. What is accuracy?
Accuracy is generally defined by the deviation of the measured value vs. the true value of the property being measured.
Sensor accuracy can be affected by various factors such as calibration, environmental conditions, and the sensor. It shows how closely the sensor’s measurement matches the true value of the property being measured.
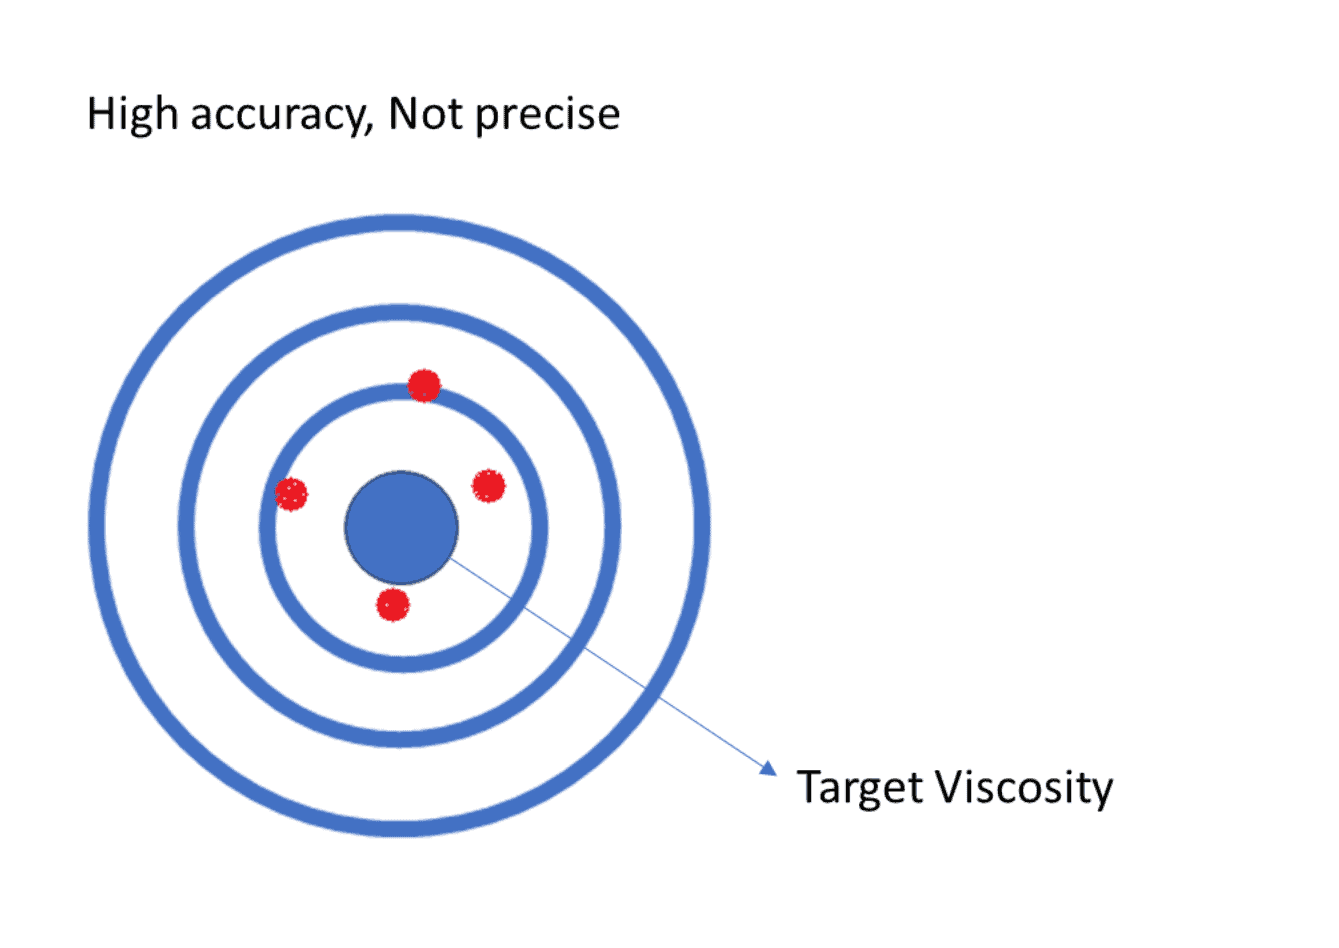
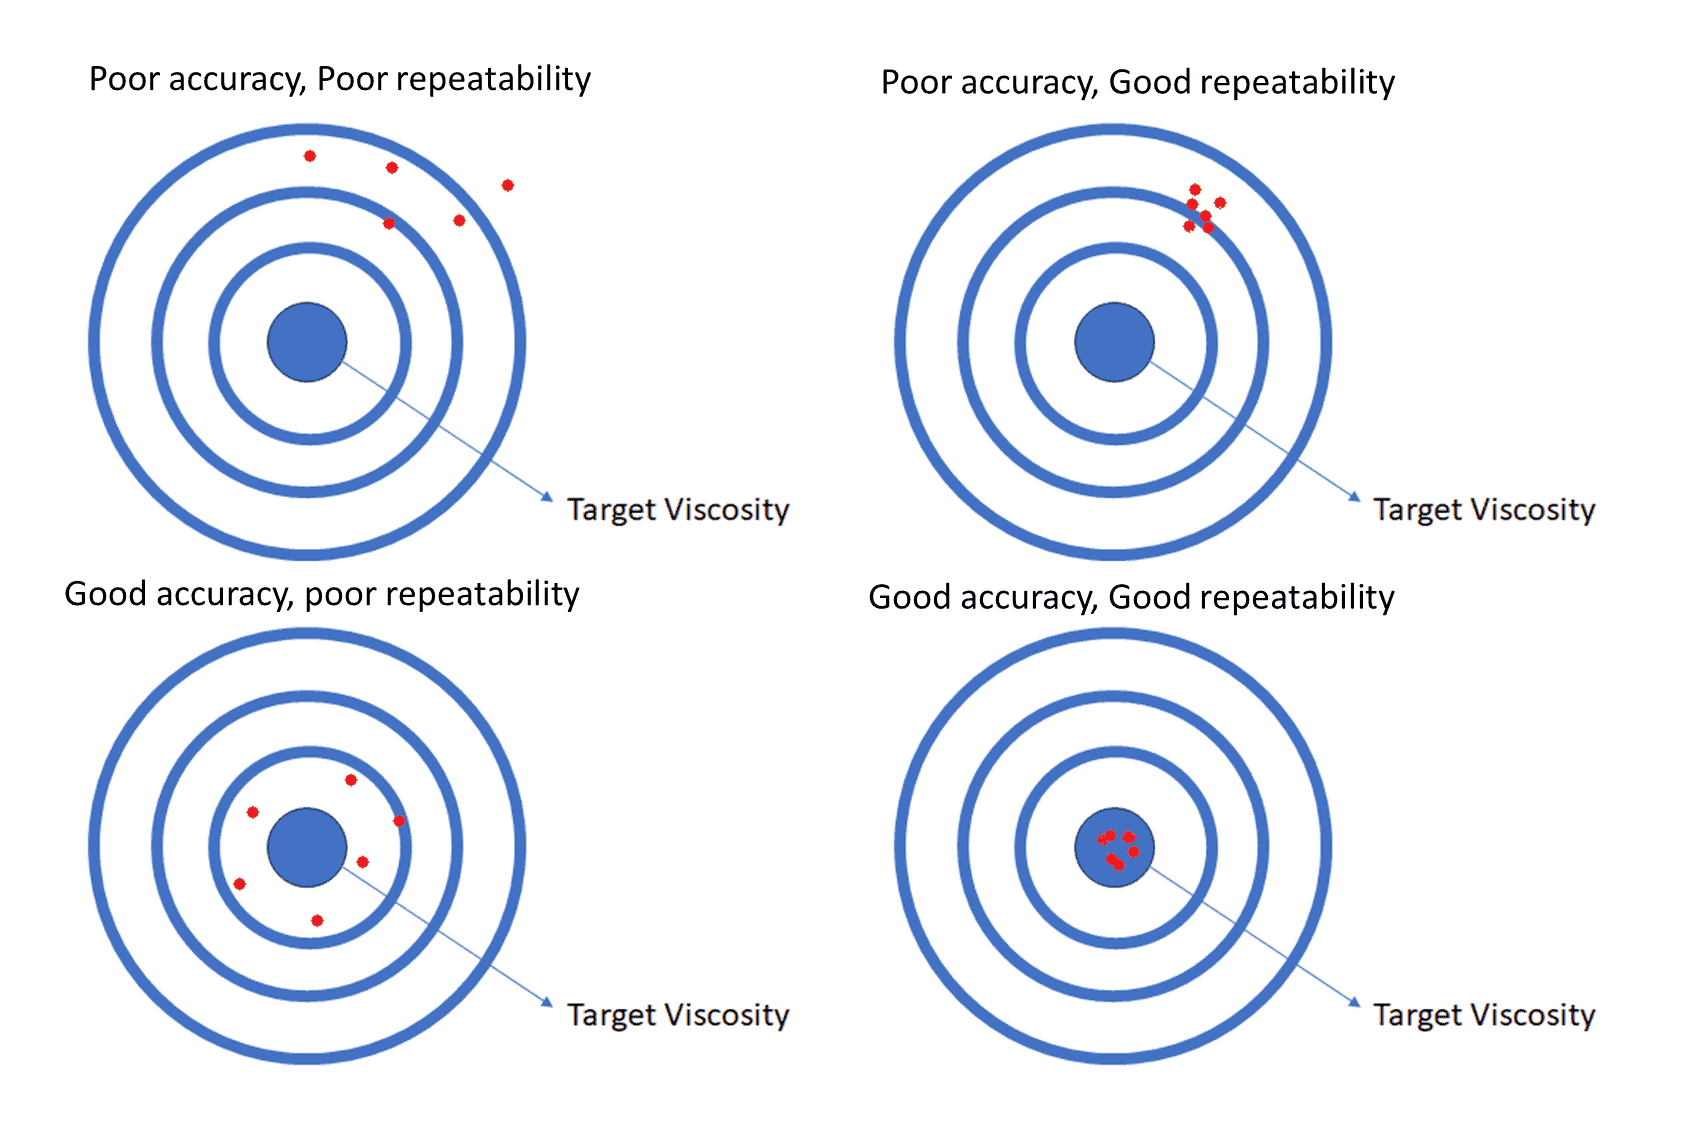
In Figure 1, we can understand accuracy as always hitting the target close to the center but at different zones.
1.2. What is precision?
The variation that exists between multiple measurements of the same parameter of the same characteristic. A highly precise measurement indicates that the measurements are very close to each other and have minimal variation.
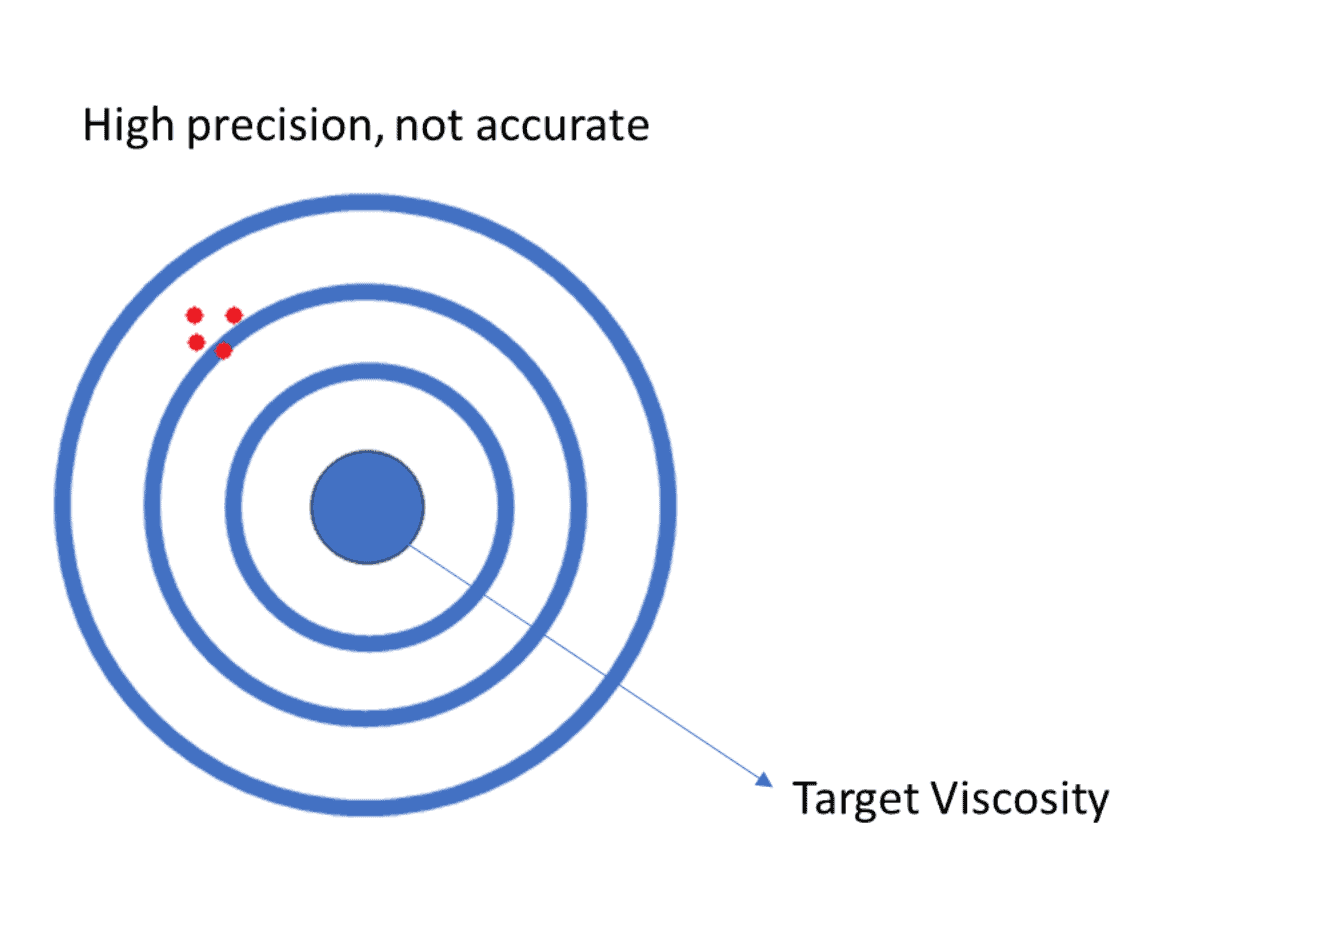
In Figure 2, we are hitting the target around the same area but far from the center.
1.3. What is reproducibility?
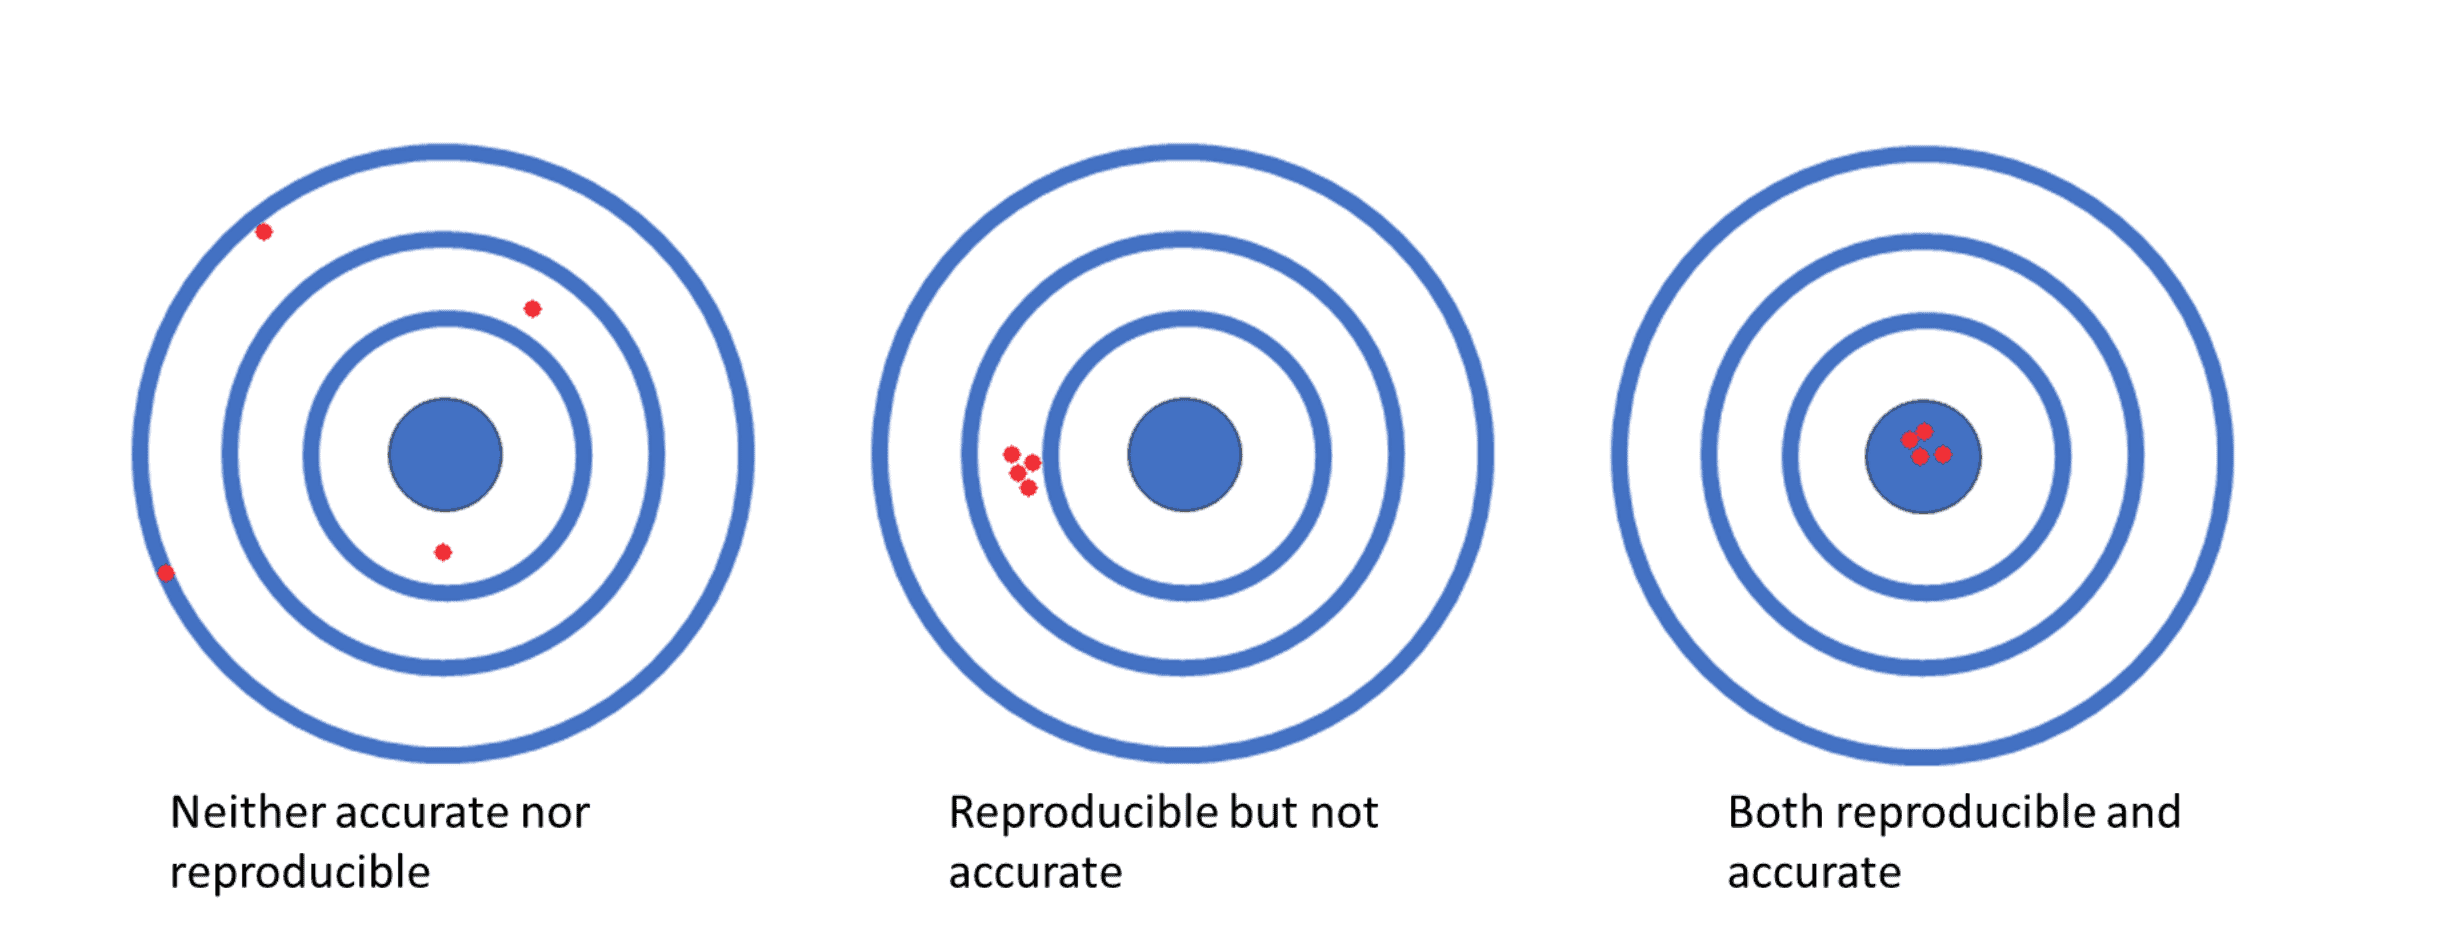
Reproducibility is when different operators produce the same measurement result with the same instrument multiple times under different conditions. Well-planned setups with controls enhance consistency and detailed protocols aid replication.
Example:
Operators 1, 2, and 3 measure the same fluid 4 times with the same sensor.
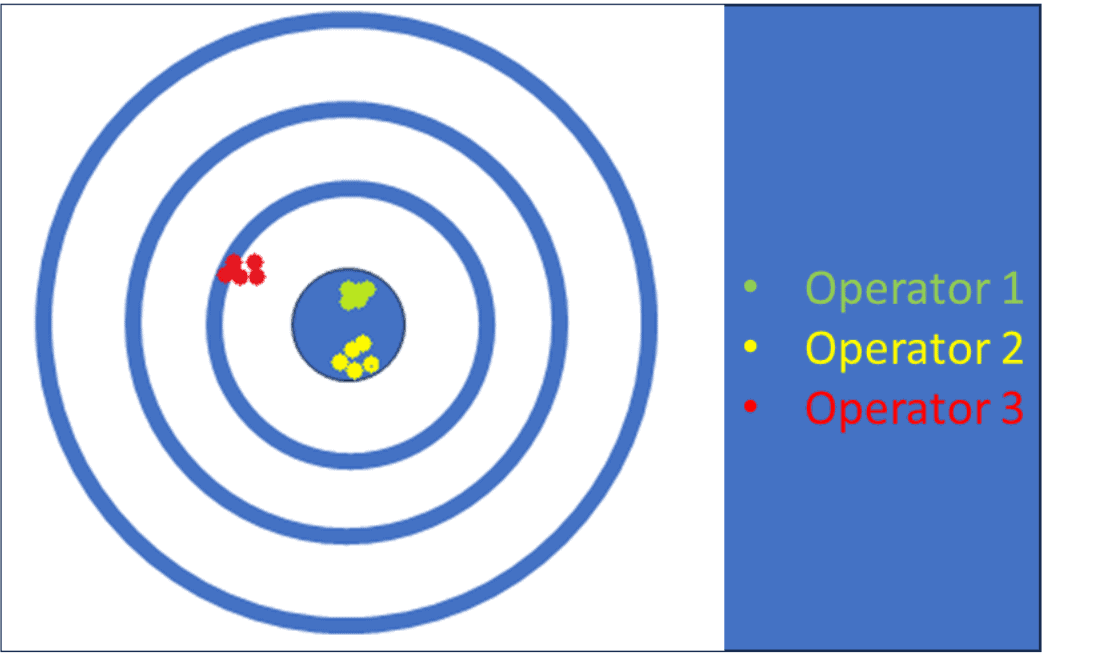
The variation in average measurements between Operators 1 and 2 is much less than the variation between Operators 1 and 3. Therefore, the gage’s reproducibility is too low.
1.4. What is repeatability?
The repeatability of a sensor refers to its ability to produce the same measurement results under the same conditions multiple times. Therefore, if the same measurement is taken several times with the same sensor, the results should be consistent.
Accurate and precise measurements with good repeatability and reproducibility are essential for ensuring reliable data and outcomes in various fields. They form the basis for informed decision-making, quality control, innovation, and scientific progress. Efforts to improve measurement systems, reduce errors, and enhance the consistency of measurements contribute to advancements across manufacturing, engineering, and scientific domains.
- Rheonics builds truly inline process instrument, to achieve that we ensure that the reproducibility and repeatability of measurements are exceptional – generally better than 0.1-1% for the SRV viscosity meter.
- Rheonics runs calibration standards with NIST traceable viscosity and density standards at different times under similar conditions, ensuring each probe is evaluated for reliable and accurate measurements.
- Consistency of results is essential to the success of customers quality control program, as it ensures that all measurements are reliable and accurate. The repeatability of measurement also allows for the easy comparison of results across different batches.
- Furthermore, the repeatability of measurement allows for quick and easy troubleshooting when a process fails to meet expectations.
- Based on Rheonics’ proven gated phase-locked loop technology, the electronics unit offers stable, repeatable, and high-accuracy readings over the full range of specified temperatures and fluid properties.
- SRV and SRD are operator-independent and measure in real-time.
- Temperature effects can be compensated in real-time.
4.1. SRV inline process viscometer Probe R&R test setup
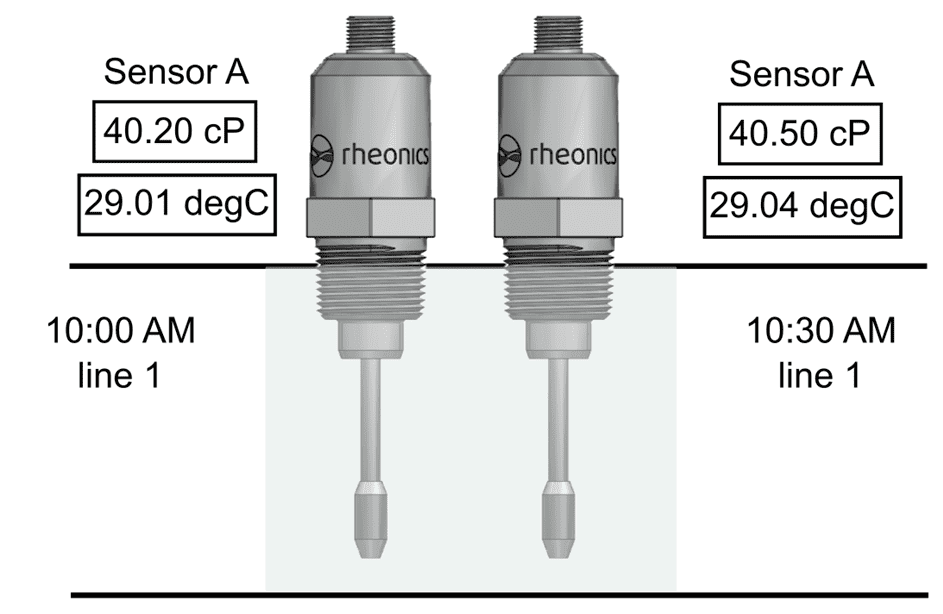
Test 1-Sensor A:
- Time:10:00AM
- Viscosity: 40.20 cP
- Temperature: 29.01 °C
Test 2-Sensor A:
- Time:10:30AM
- Viscosity: 40.50 cP
- Temperature: 29.04 °C
Same sensor, same fluid, agreement of measurements at two different times. Related to measurement stability.
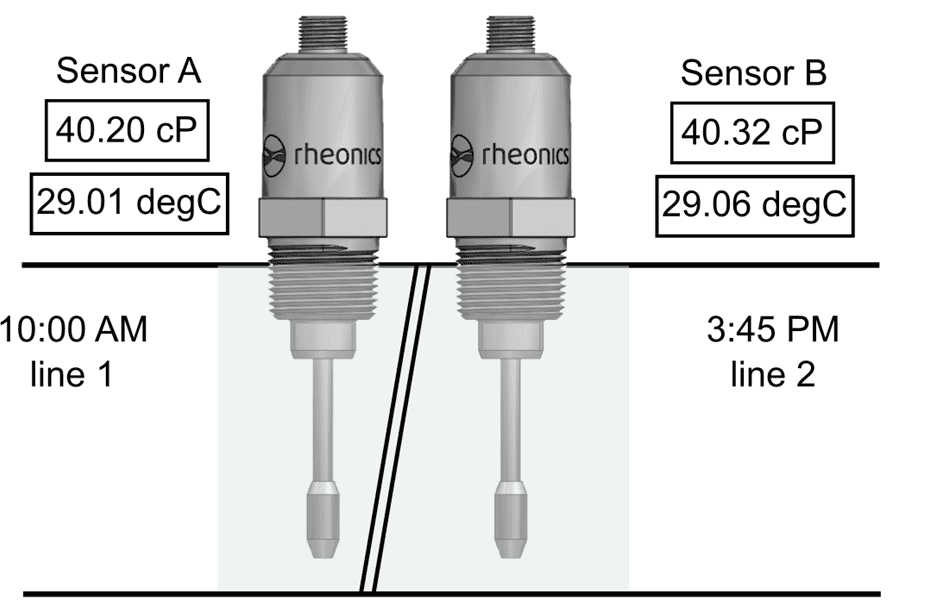
Test 1-Sensor A:
- Time:10:00AM
- Viscosity: 40.20 cP
- Temperature: 29.01 °C
Test 2-Sensor B:
- Time:10:30AM
- Viscosity: 40.32 cP
- Temperature: 29.06 °C
Agreement between two sensors, different locations, different times, same fluid.
4.2. SRD viscosity and density meter Probe R&R test setup
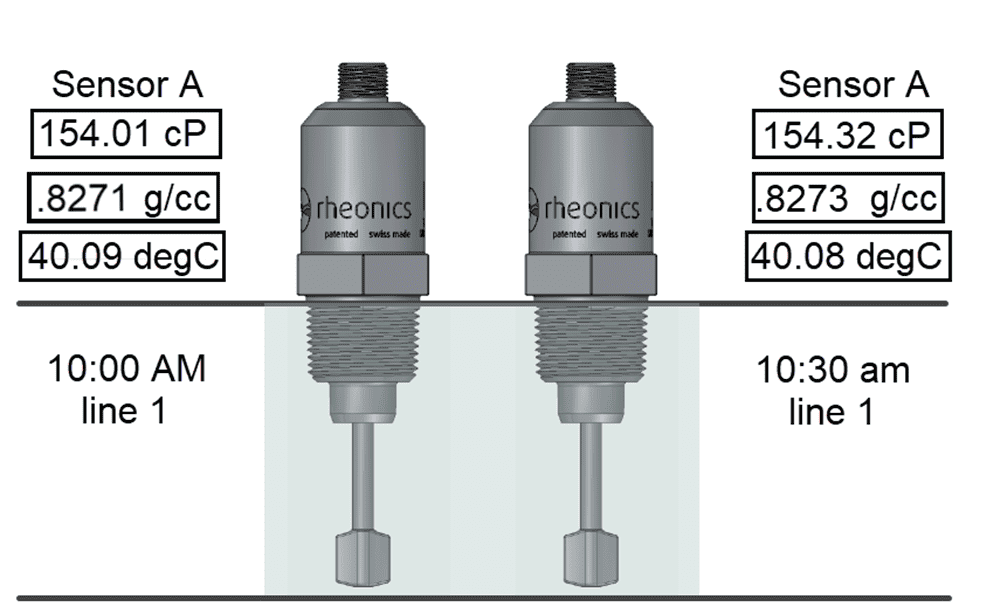
Test 1-Sensor A:
- Time:10:00AM
- Viscosity: 154.01 cP
- Density: 0.8271 g/cc
- Temperature: 40.09 °C
Test 2-Sensor A:
- Time:10:30AM
- Viscosity: 154.32 cP
- Density: 0.8273 g/cc
- Temperature: 40.08 °C
Same sensor, same fluid, agreement of measurements at two different times. Related to measurement stability.
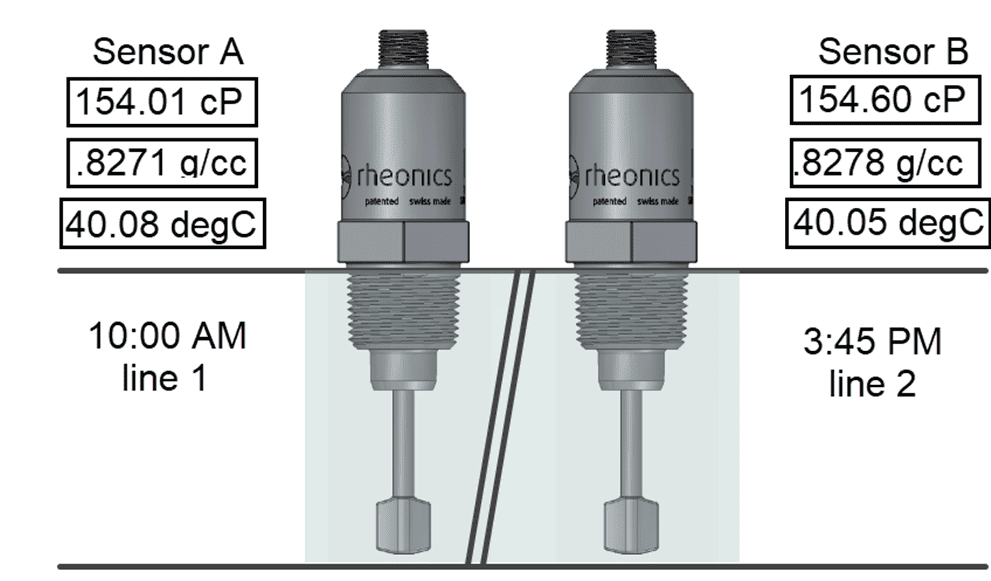
Test 1-Sensor A:
- Time:10:00AM
- Viscosity: 154.01 cP
- Density: 0.8271 g/cc
- Temperature: 40.08 °C
Test 2-Sensor B:
- Time:3:45PM
- Viscosity: 154.60 cP
- Density: 0.8278 g/cc
- Temperature: 40.05 °C
Agreement between two sensors, different locations, different times, same fluid.
Accuracy is only meaningful for a viscometer when measuring the viscosity of a Newtonian fluid.
Since viscosity describes a fluid’s resistance to flow, nearly all viscometers rely on deforming – shearing – the fluid in one way or another, and then measuring the effects of that shearing.
A Newtonian fluid’s resistance to shearing depends only on the rate at which it is sheared. If the shear rate is known, then the accuracy with which its resistance to shearing can be measured defines the accuracy of the measurement.
But there are many difficulties that stand in the way of measuring viscosity – so many, that viscosity is almost a mythical quantity that doesn’t really exist for most fluids.
Viscosity vs. Consistency
Almost everyone has experienced viscosity of many common fluids. Honey, for instance, is thousands of time more viscous than water. Honey takes much longer to flow out of a jar than water does. You have to work harder to rub honey between your fingers than you do water. And if you spill honey on the floor, it takes much longer to spread than does the same amount of water.
These are all subjective qualities of honey – we experience them as “consistency” rather than a more scientific, quantitative term like “viscosity”. If I told you that honey has a viscosity of 4,000 centipoise,, but water’s viscosity is only 1 centipoise, it wouldn’t mean as much as all the subjective experiences that make honey what it is.
But honey is a nearly Newtonian fluid – it would show pretty much the same viscosity if I measured its drag on a rotating spindle, how fast it flowed out of a calibrated funnel (a Zahn cup, for instance) or how fast it flowed through a glass capillary viscometer.
For the consumer of honey, however, consistency matters more than a number describing viscosity. And this is the case for most fluid products made and sold for industrial, medical, and household use.
Ketchup is a common example of a non-Newtonian fluid. When you pour ketchup onto a hamburger, for instance, it doesn’t even behave like a liquid. It spreads out in a puddle, but doesn’t keep spreading – it piles up in a little mound on top, that keeps its shape until you push it down, whether with a fork, or with the top of the bun.
Ketchup doesn’t have a viscosity! It has a consistency – a way it behaves when trying to get it out of the bottle, and how it lies on the food. Trying to measure the viscosity of ketchup with different kinds of viscometers will give you a whole range of numbers that are scattered all over the place. Even trying to measure it with a simple rotating spindle viscometer will give you different numbers depending on how fast the spindle is turning, how long you’ve been measuring, and whether you’ve moved the spindle in the last few seconds.
It is impossible to define a viscosity for ketchup, since any measurement is going to be different from any other measurement. What ketchup manufacturers need is a way of quantifying the consistency of the product – they want to keep the ketchup’s consistency constant, because that is what their customer’s expect.
You probably don’t want to buy a brand of ketchup that piles nicely on your hamburger some of the time, but drips off onto your hands and clothing another time.
Sensor Technology, Working principle and Applications
Viscometers
Density Meters
